Dioramas Refinements
- Bench Work -
- Platform & Console Build -
- Topography -
- Ballasting & Scenary 1.0 -
- Bridge Redesign & Scenary 2.0 -
- Scenary Detailing-
- Lighting, Animation Work -
- Diorama Refinements -
- Oops - Major Nov. 2019 Track Fix -
- DCC Turnout Control Install -
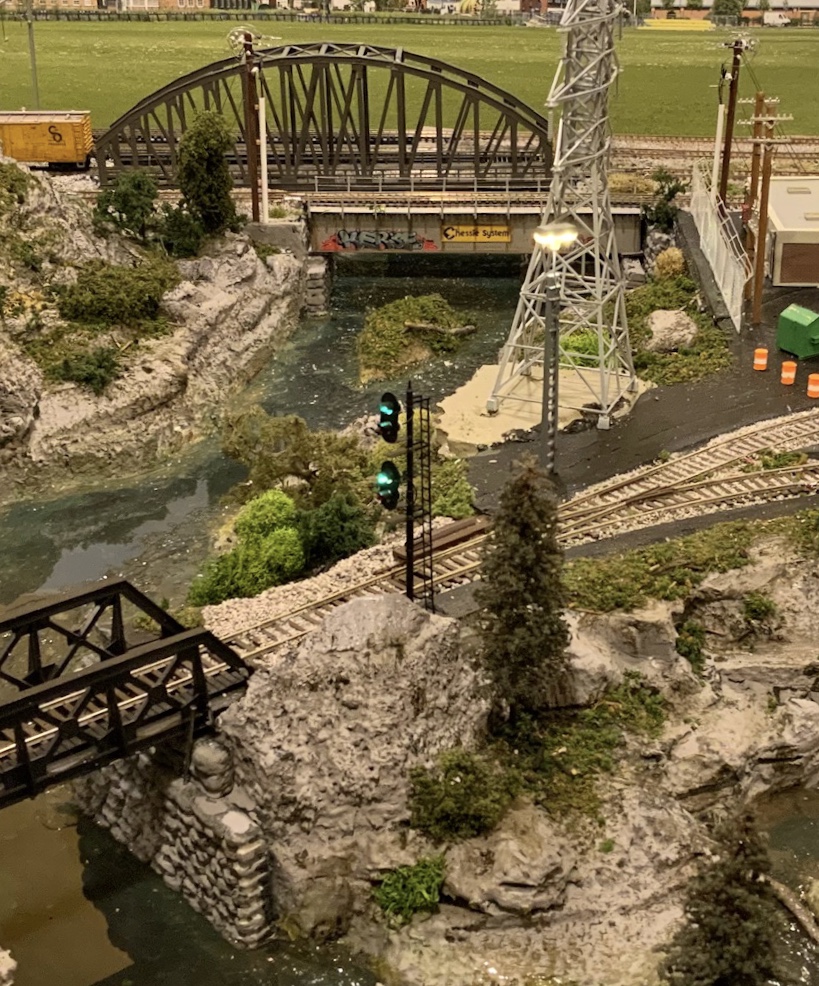
...One of the area's few brick and mortor retailers that focuses exclusively on model railroading, M.B. Klein, is closing its doors, to trade exclusively online (I've bought from them online, and only recently leard they had a physical presense locally) So I dropped by today, and... you can't have too many signals!!

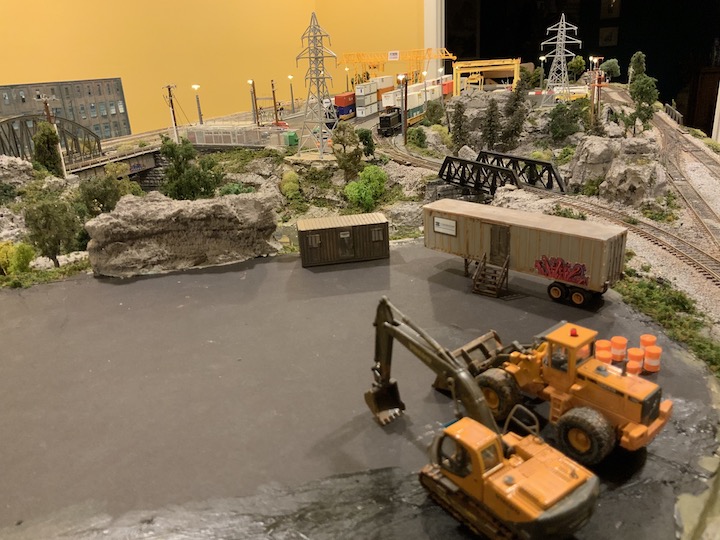
I'm finally sorting out how I want to develop this area of the layout, after struggling with ideas for it throughout the project. I came acroos these two earth moving replicas at a good price on Ebay, and the Walters construction site trailer kit, which sealed the deal on making it a construction site.
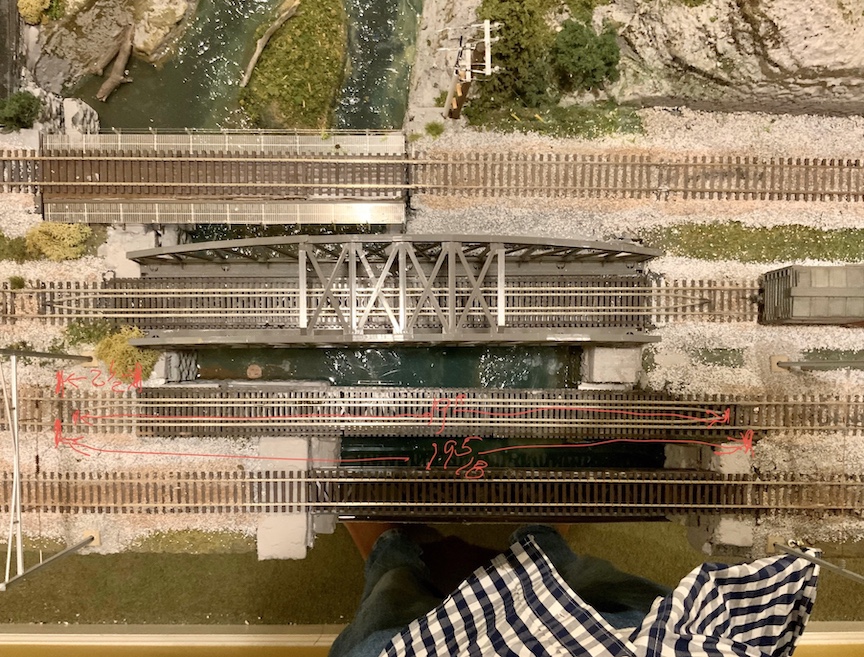
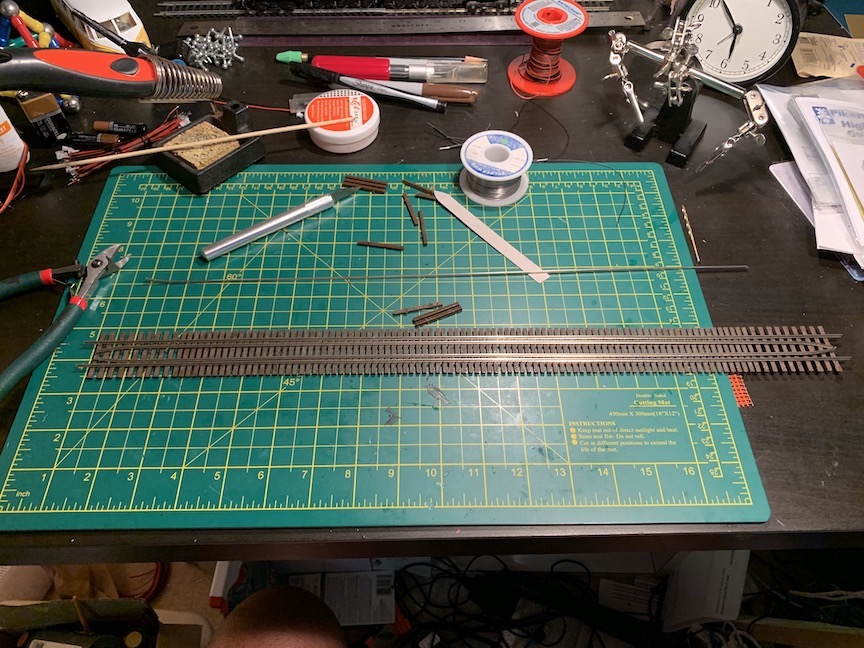
With the Truss bridges swapped out for deck girder bridges, and catenary mounted for the two outer tracks that the GG1 will operate on, someone on a blog asked about the bridge track shown here. I didn't know, because the two segments came with an Ebay bridge purchase..., but they are noe discontinued Walters brand bridge tracks. So that got me thinkin, and I eventually found a solution for scratch building bridge track. Micro Electronics makes 36" lengths of bridge track. The Code 83 version includes the flex track and two 36" lengths of Code 70 rail for the guard rails. So I gave a go at scratch building an 19+" and 10" segment for the outermost and innermost deck girder bridges, that I had to use simple flex track on.


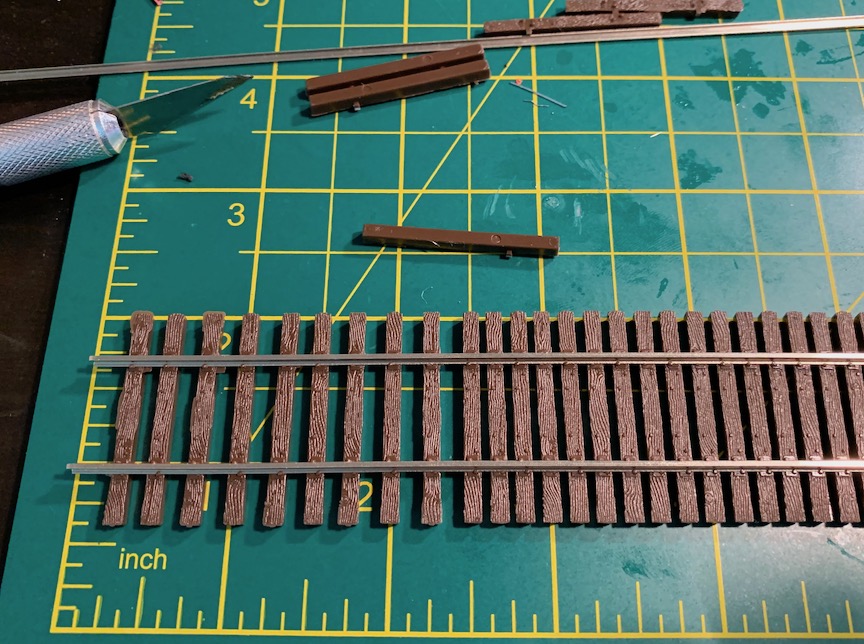
The $13 kit was long enough to make the 19+" (bottom), and should leave plenty for 10" segment for (top) deck girder bridges (shown here spanned with simple flex track).
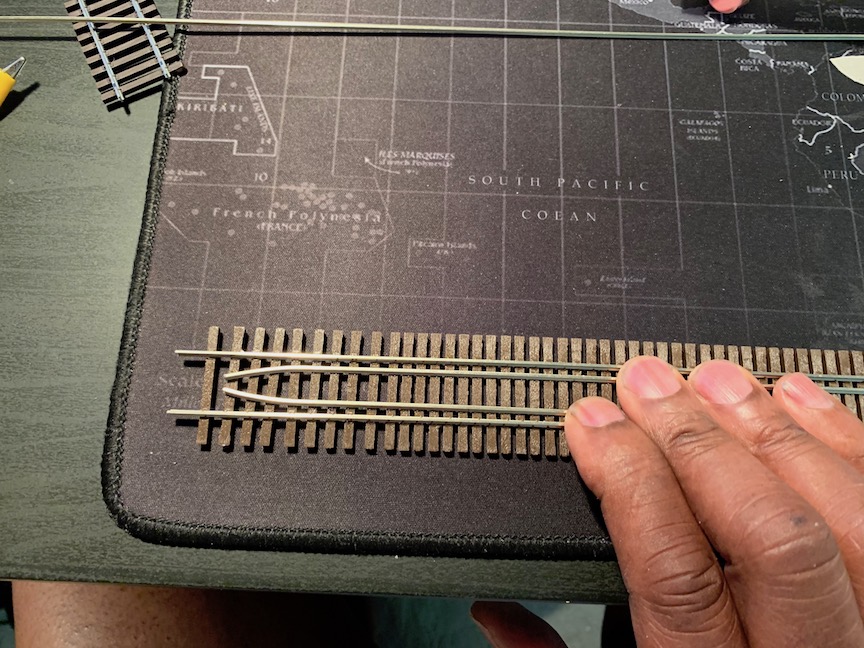
I started to make a template to build a jig, that I thought would be needed to bend the guard rails evenly. But reading up on railroad guardrails, I learned that in practise, damaged or defective rails were preferred for use as guardrails. So I have the sense that less that perfectly symmetrical guardrails would probably be more prototypical than not.
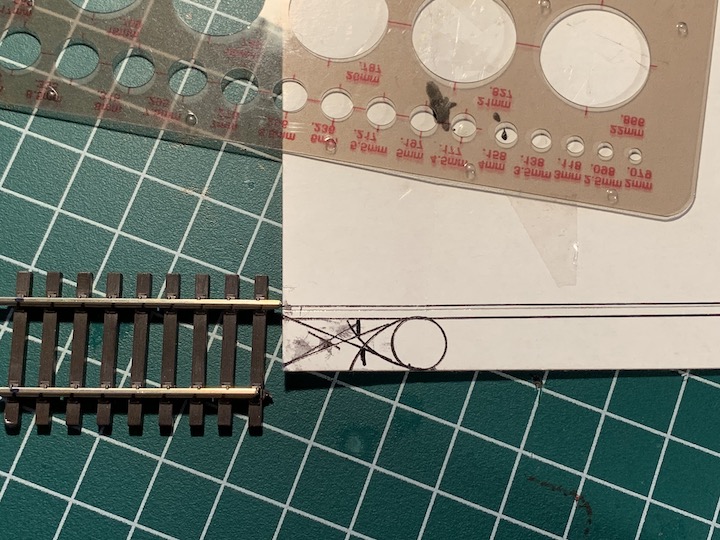
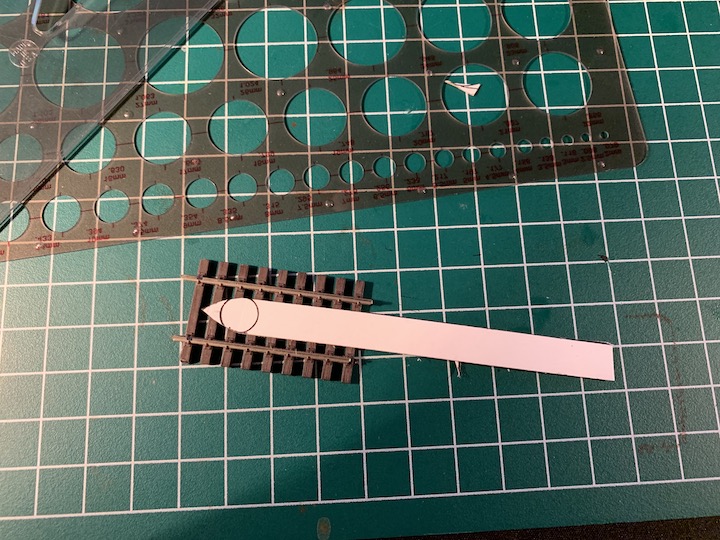
The little template exercise was good though, gave me a sense of what shape I wanted to contour the bend to, and what the spacing of the guard rails would look like. But I just started cuttung stuff, based on measuremwnt from the original. I spiced the ties, and removed some, for 2.5" inches on each end of the 19" segment. A few ties popped off and had to be put back on, but ME track is pretty good quality, and the ties, once you slide them back in place, stay.
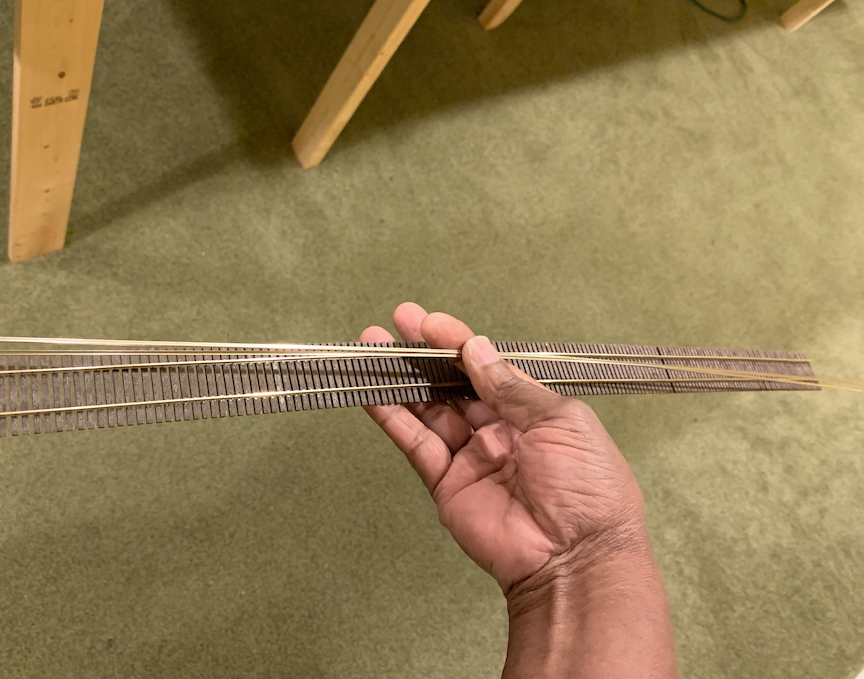
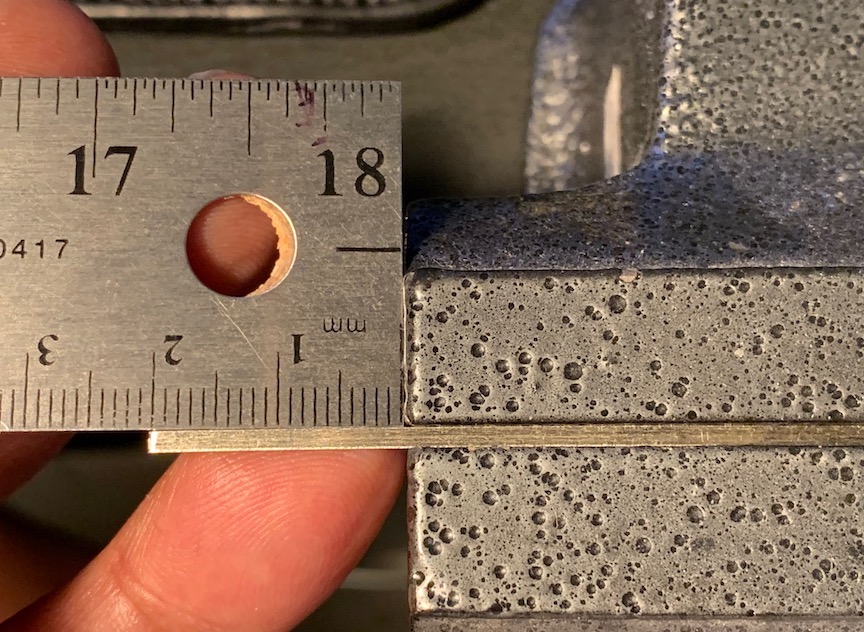
I found the securing the rail with 2cm exposed, and no more than 5mm or an 1/8 of an inch in the plyer grip, gives the best working leverage for a smooth bend. One must take care to bend the rail absolutely in a flat horizontal plan, or else the bent rail wont't lie flat on the ties.
So the project turned out to be not as heavy a lift as I'd anticipated, thanks to the ME kit. I now will look into what would be the best adhesive to bond plastic and brass.
- Bench Work -
- Platform & Console Build -
- Topography -
- Ballasting & Scenary 1.0 -
- Bridge Redesign & Scenary 2.0 -
- Scenary Detailing-
- Lighting, Animation Work -
- Diorama Refinements -
- Oops - Major Nov. 2019 Track Fix -
- DCC Turnout Control Install -
| Return |